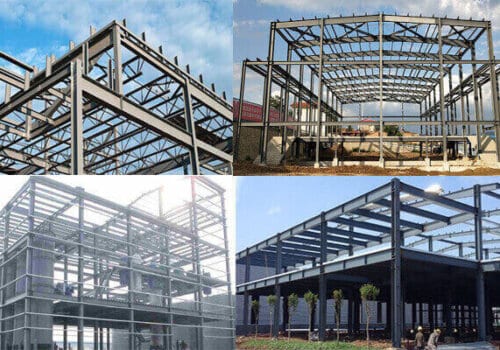
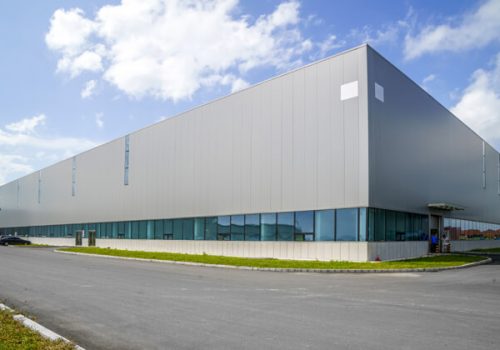
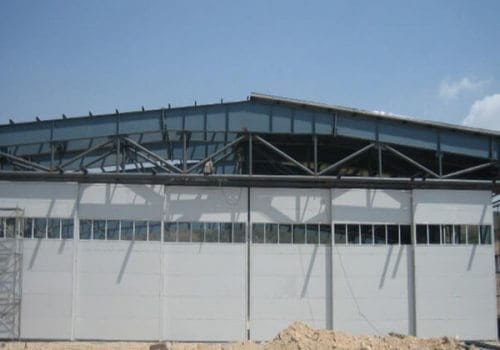
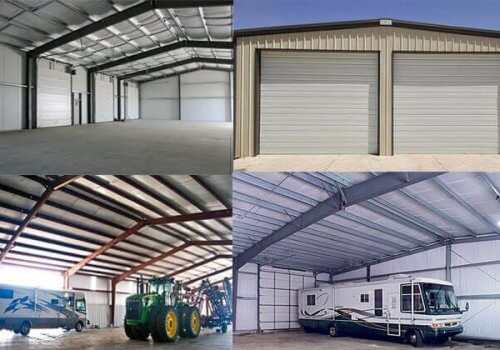
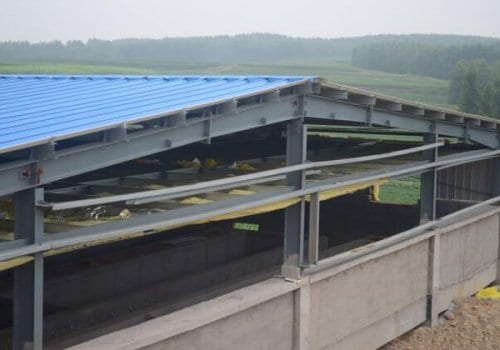
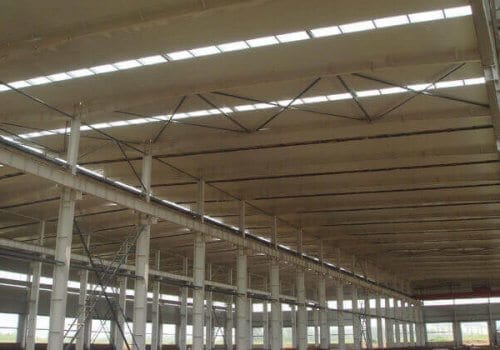
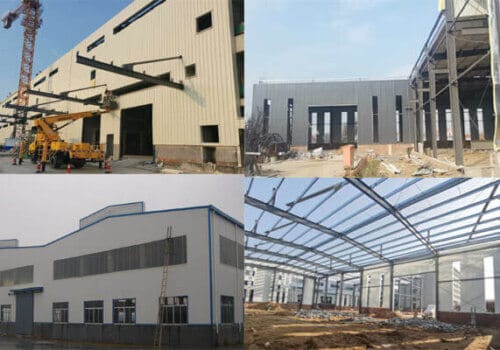
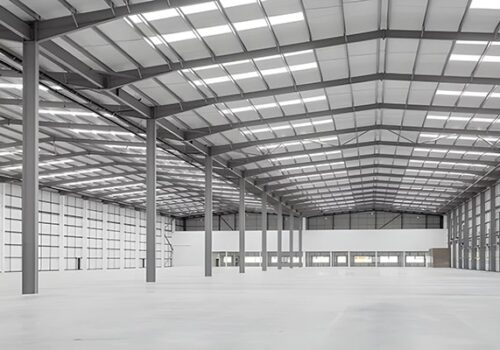
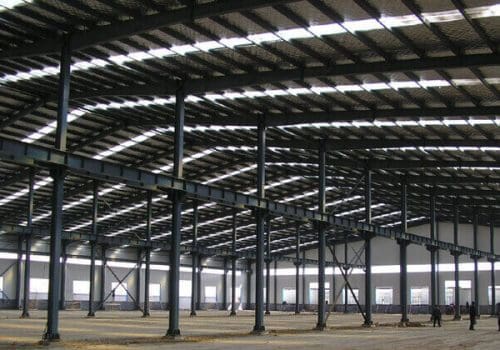
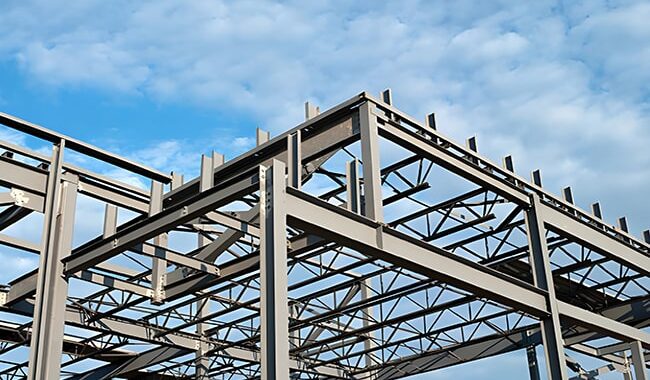
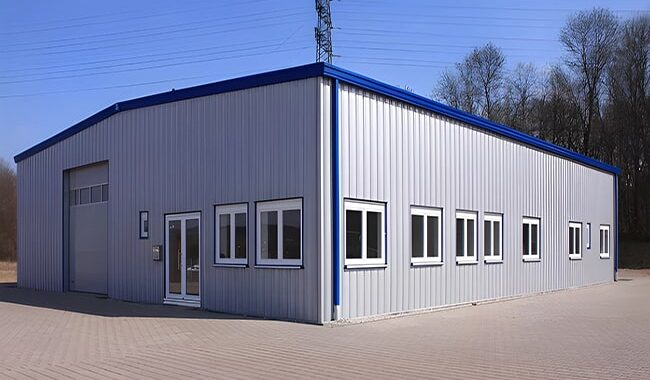
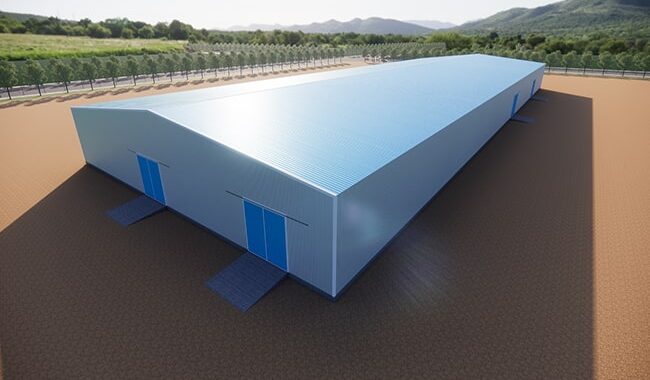
A steel frame is a structure made of steel, usually connected by welding, bolting, or riveting steel beams, columns, bracing,…
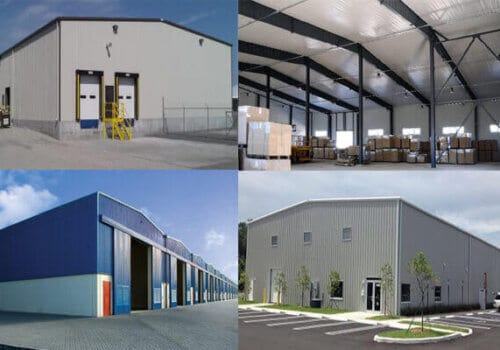
The portal steel frame structure is widely used in large buildings, such as industrial plants, warehouses, stadiums, etc., because of its simple design, convenient construction, and good bearing capacity. However, portal steel frame installation is a systematic and complex process that requires strict compliance with the design plan and accurate construction of each link.
The guide to portal steel frame installation
Portal steel frame installation for Column
Steel columns are the primary load-bearing structures of the portal steel frame, and their installation must ensure verticality and stability.

1. The steps for installing steel columns are as follows:
Preparation: First, ensure the foundation is ready and meets the design requirements. Then, before transportation and hoisting, the steel column must be checked to ensure it is not deformed or damaged.
Positioning before hoisting: Use a crane to lift the steel column to the predetermined position, check the fit between the steel column and the foundation, and ensure the installation position is accurate.
Steel column in place: After placing the steel column on the foundation, adjust and temporarily fix it to ensure its verticality and position accuracy. Tools such as a level and plumb can inspect the column for accuracy and ensure it is not tilted.
Temporary fixation: Use temporary supports and clamps to fix the steel columns to ensure that the steel columns remain stable during the following construction process. Multiple steel columns may need to be installed side by side for large-span structures. At this time, the symmetry and stability of each steel column must be ensured.
2. Installation of cable wind ropes and inter-column bracing
After the steel columns are installed, installing inter-column bracing or cable wind ropes is an important step to ensure the stability of the portal steel frame installation. Cable wind ropes enhance the strength of columns and structures.
After the steel columns and cable wind ropes are installed, strengthening the support system can further ensure stability.
Install supports between steel columns to enhance their stability further and reduce deformation under wind or load.
3. Install roof beams
Hoisting of roof beams
The hoisting of roof beams is the core step in the portal steel frame installation process. It must be accurate and safe so that the beam body does not deform, collide, or become unstable.

Positioning of roof beams before hoisting
Confirmation of hoisting points: Determine the beam body’s hoisting points according to the roof beams’ design drawings and the hoisting equipment’s configuration.
Usually, the lifting point is selected at the two ends of the beam or between the support points to ensure balance during the lifting process.

Beam placement: A crane should lift the roof beam between the steel columns. The starting position of the lifting should be aligned with the support point to prevent the beam from shifting during the lifting process.
4. Portal steel frame installation for Tie Beam
Lifting the tie beam is a key step in the portal steel frame installation process. During this process, it is necessary to ensure that the tie beam is accurately positioned and stably installed.

(1) Preparation before lifting
Lifting position confirmation: Mark the tie beam installation position at the roof beam’s predetermined position to ensure that each tie beam’s position is consistent with the position in the structural design drawing.
Lifting point confirmation: Determine the lifting point. Usually, the lifting point is selected at the two ends of the roof tie beam or between its support points to ensure balance during the lifting process.
(2) Lifting operation
Balanced lifting: When using a crane to lift the tie beam to the predetermined position, ensure the lifting process is smooth and uniform to avoid tilting.
Adjust the position: During hoisting, fine-tune the roof tie beam according to actual needs to ensure it is accurately connected with the support point and the roof beam.
5. Roof horizontal bracing installation
The roof horizontal bracing is usually installed by hoisting, so stability and accuracy during the hoisting process are crucial.

(1) Preparation before hoisting
Confirm the hoisting path: There are no obstacles, and the crane can smoothly hoist the roof horizontal bracing to the target position.
Confirm the hoisting point: Based on the support’s size and weight, confirm the hoisting point’s location. Usually, the hoisting point is selected at both ends of the support or at its center to ensure balance during hoisting.
(2) Hoisting operation
Balanced hoisting: When using a crane to hoist the roof horizontal bracing to the predetermined position, ensure that the hoisting process is smooth and balanced. Avoid tilting, shaking, or damage to the support due to uneven force.
Fine-tune the position: Using measuring tools to align the support’s position entirely with the design requirements during hoisting.
(3) Precise positioning of bracing
Alignment of installation points: Ensure that both ends of the roof horizontal bracings are connected to the predetermined connection points and that the connection with roof beams, columns, and other components is not deviated.
Temporary fixation: After the roof bracings are in place, temporary fixing devices (such as support frames, clamps, etc.) can be used to fix them to prevent displacement during the subsequent connection process.
6. Portal steel frame installation for internal platform structure
The internal platform usually includes equipment, operating, and cargo storage platforms.

Lifting the platform steel structure frame
The lifting of the platform steel structure is the core link in the portal steel frame installation process, involving the precise positioning and stable installation of the platform main frame.
(1) Preparation before lifting
Confirmation of the lifting path: Confirm that the path of the lifting equipment is unobstructed and ensure that the crane can smoothly lift the main frame of the platform steel structure to the target location.
Selection of lifting point: Based on the weight and size of the platform’s main frame, determine the location of the lifting point. Usually, the center of the platform steel beam or other load-bearing components is selected for lifting.
(2) Hoisting operation
Balanced hoisting: When using a crane to hoist the main frame of the platform steel structure to the predetermined position, ensure that the hoisting process is smooth and uniform to avoid tilting or shaking of the platform components.
Fine-tune the position: During the hoisting process, use measuring tools to fine-tune the platform steel structure to ensure that its position is consistent with the design requirements and that the platform is stable.
(3) Accurate positioning of the platform frame
Adjust the position: According to the requirements of the design drawings, ensure that the main supporting beams, columns, and secondary components of the platform steel structure are accurately connected to avoid misalignment or deviation.
Temporary fixation: After the platform steel structure is in place, temporary supports, brackets, or clamps can be used to fix it to prevent displacement during the subsequent connection process.
7. Install the upper structure of the platform.
Installing the upper steel structure of the platform usually involves installing roof beams, tie beams, and bracing systems on top of the platform.

Hoisting the upper steel structure of the platform
A key step is hoisting the platform’s upper steel structure. The components must be accurately positioned, safe, and firm during this step.
(1) Preparation before lifting
Lifting path confirmation: Ensure that the lifting path is unobstructed and the crane can smoothly lift the components of the upper steel structure of the platform to avoid collisions or obstacles during the lifting process.
Lifting point confirmation: To ensure balance and stability during lifting, select appropriate lifting points according to the weight and shape of the steel structure.
(2) Lifting operation
Balanced lifting: When using a crane to lift the upper steel structure components of the platform to the target position, ensure that the lifting process is smooth and uniform to avoid tilting or damage to the steel structure components due to uneven force.
Precise positioning: During the lifting process, use measuring tools (such as laser levels) to ensure that the components maintain the correct position and are accurately connected to the connection points of the support system below.
(3) Precise positioning of the platform steel structure
Adjustment and calibration: After lifting, the platform’s upper steel structure needs to be fine-tuned to ensure it meets the design requirements in horizontal and vertical directions.
Temporary fixation: Before connection, temporary supports or clamps can be used to fix the hoisted components to prevent the steel structure from shifting after the lifting is completed.
8. Installation of roof purlins
Lifting and positioning of roof purlins
Lifting roof purlins: Use a crane to lift the purlins one by one to the roof installation position. During lifting, ensure that the lifting points are firm to avoid falling or being offset.

Synchronous positioning: According to the previously placed baseline, align the roof purlins individually to the predetermined position. Use temporary supports and positioning devices to help stabilize the purlins.
Preliminary fixation: After the purlins are in place, use temporary connectors or bolts to fix them to ensure their position does not move preliminarily.

9. Construction of roof panels and wall purlins
Installation of roof panels
Roof panels usually refer to the panels covering the roof purlins. Standard roof panels include color steel sheets, PVC plates, and others. During installation, they must be waterproof, thermally insulated, and strong.

1). Preparation and installation sequence of roof panels
Material inspection: Before installation, check the quality of the roof panels to ensure that their surface is flawless and meets the design specifications.
Pretreatment of roof panels: Cut and punch roof panels as needed to ensure that each panel is of appropriate size and meets the requirements of roof purlin spacing.
Order of laying roof panels: Start from one end of the roof and lay roof panels according to design requirements. Generally, it is laid from the low end of the roof to the high end to ensure waterproofness (the direction of water flow is consistent with the laying direction).
Butt joint of roof panels: Each roof panel needs to be tightly butted to ensure that the joints are tight and seamless.
2). Fixing and connection of roof panels
Self-tapping screw fixing: Use self-tapping screws or special bolts to fix the roof panels to the roof purlins. The screws need to pass through the roof panels and purlins. Avoid tightening too tight or too loose when tightening to avoid deformation of the panels.
Waterproof sealing treatment: To prevent moisture from penetrating the roof structure, waterproof sealant should be applied to the joints of the roof panels.
3). Inspection and acceptance of roof panels
Joint inspection: Check the sealing of the joints of the roof panels to ensure no hidden dangers of water leakage.
Tightening force inspection: Check the tightening force of all screws and connectors to ensure that they are firmly fixed.
Surface inspection: Check whether the surface of the roof panel is flat and undamaged to ensure beauty and usability.
10. Wall girt installation
Wall girts are usually used to support wall panels, protect the facade, and bear external loads. When installing wall purlins, special attention should be paid to the stability and beauty of the facade.
Installation and positioning of wall girts
Baseline setting: According to the design drawings and actual site conditions, laser locators, levels, and other tools will be used to lay out the baseline and elevation lines of the wall purlins on the steel structure.
Wall girt hoisting and positioning: Use a crane to hoist the wall purlins individually to the designed position and ensure they align with the main structure. During hoisting, it is necessary to confirm each purlin’s direction, position, and inclination.
Temporary support and fixing: To ensure stability, each wall purlin should be fixed with a temporary support frame or device.
11. Wall panel installation
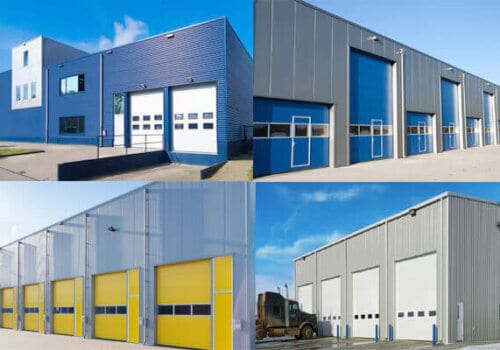
The wall panel is an essential part of the enclosure structure, responsible for bearing external loads, providing shelter, windproofing, waterproofing, and other functions. Common types of wall panels include colored steel sheets, glass curtain walls, sandwich panels, etc.

1). Preparation and inspection of wall panels
Dimension inspection: According to the spacing and design requirements of the wall purlins, check whether the size of the wall panel meets the requirements, especially the size of the reserved holes and interfaces.
Surface inspection: Check whether the surface of the wall panel has scratches, stains, or other defects. For metal panels, it is also necessary to check whether the surface has a rust-prevention treatment.
Pretreatment: Cut or pre-punch the wall panels that need to be cut or punched.
2). Installation of wall panels
Installation sequence: Install the wall panels from one end, one by one, to ensure that the joints between each panel are tight and seamless. Usually installed from bottom to top, they should be laid in the direction of water flow to avoid moisture leakage.
Fixing method: Use self-tapping screws, bolts, or special fixings to fix the wall panel to the wall purlin. The screws must penetrate the plate and be firmly connected to the purlin.
Waterproof sealing: Apply sealant to ensure the waterproofing of the plate joints. Special sealing treatment is also required to prevent moisture penetration into large-area or glass curtain walls.
Butt joint and edge pressing of the plate: For large-area panels (such as curtain wall glass or aluminum alloy panels), it is necessary to ensure smooth butt joints and use bead pressing to ensure the flatness and sealing of the overall appearance.
Summary:
The portal steel frame installation is an essential stage in steel building construction, marking the smooth construction of the main structure. Through precise installation, strict quality control, and detailed acceptance procedures, the stability and safety of the steel frame structure are ensured, laying a solid foundation for subsequent construction and building use.
